After JDK is installed, the next step is to install Android Studio. Following the installation process.
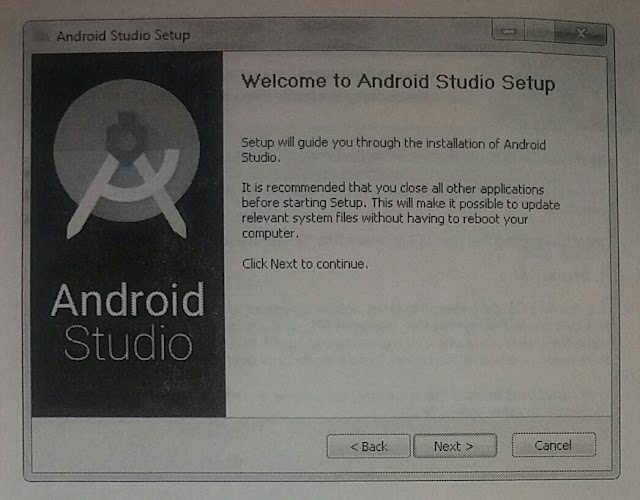 |
| The initial step of installing Android Studio |
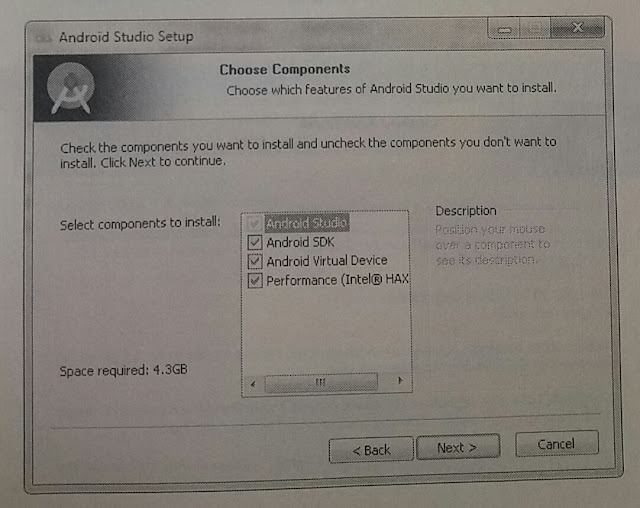 |
| Selection of Package to be installed |
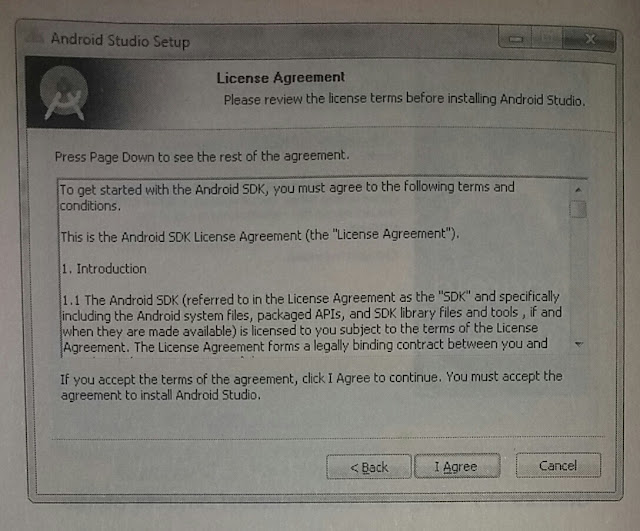 |
| Android SDK License Agreement |
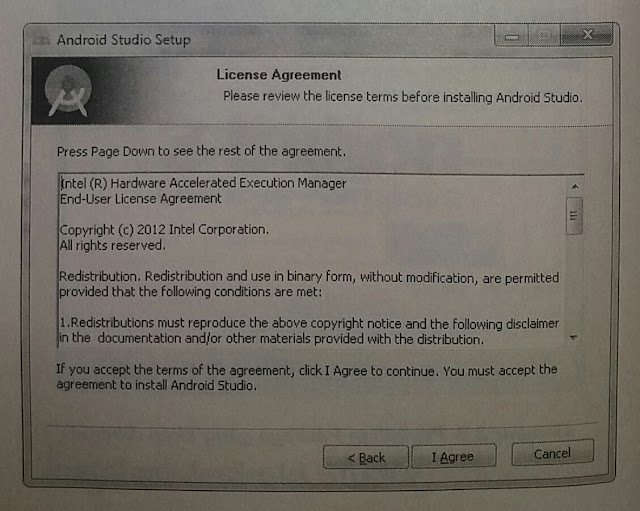 |
| License Agreement |
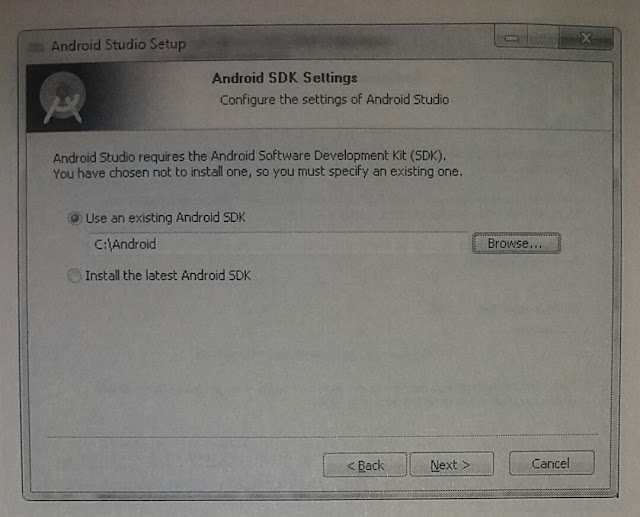 |
| Android SDK Path Selection |
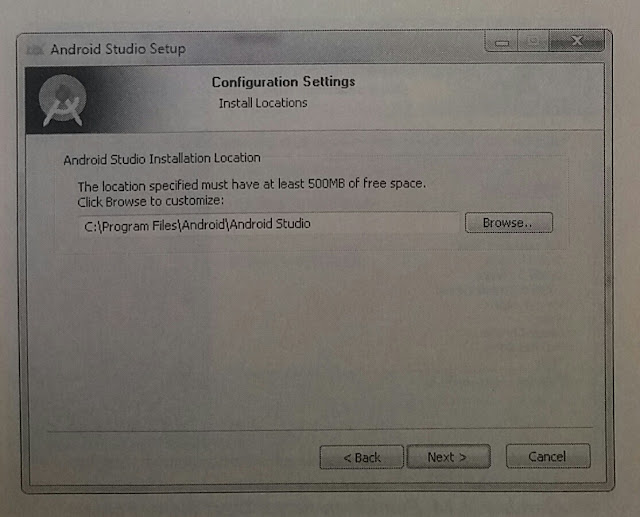 |
| Selection of installation location |
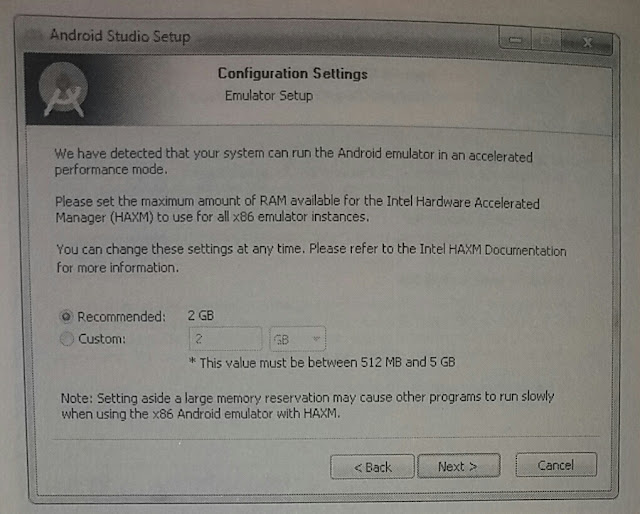 |
| Configure memory allocation |
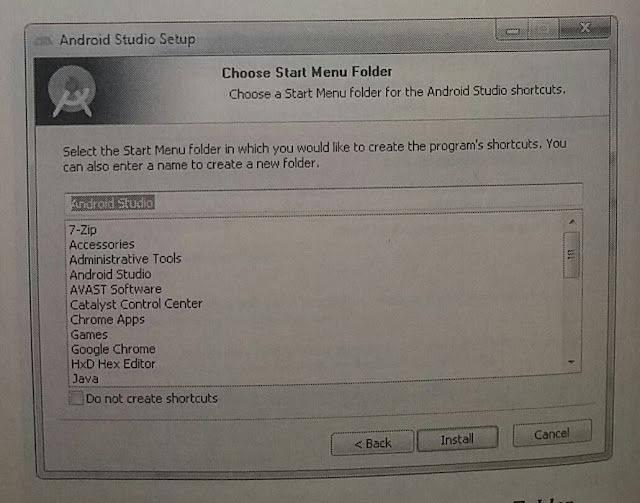 |
| Select the Start Menu Folder name |
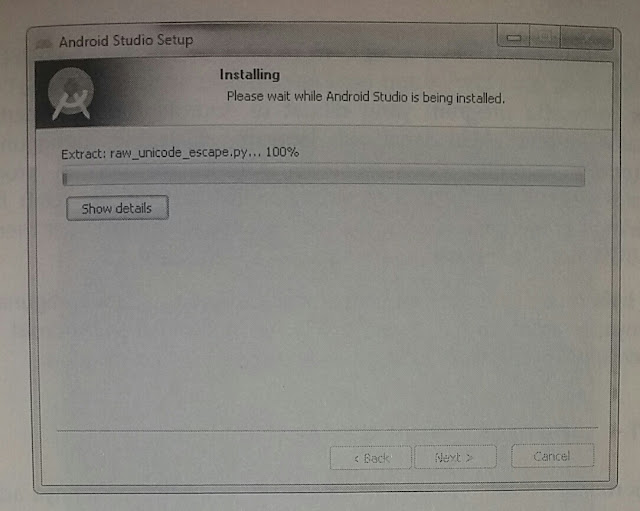 |
| Installing Android Studio |
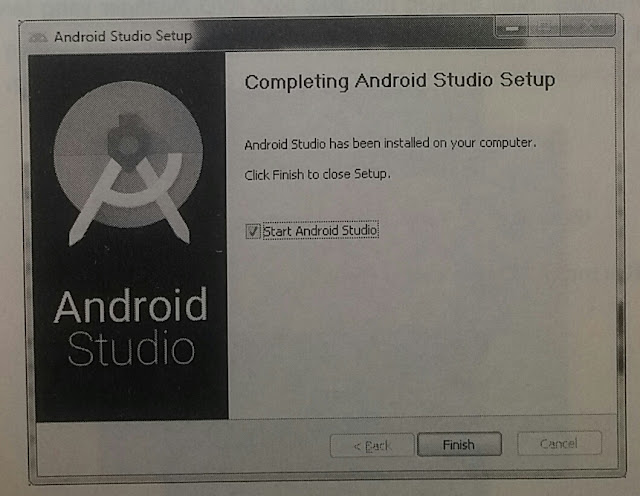 |
| Android Studio installation process is complete |
Read:
https://knowledgefrans.blogspot.com/2020/02/emulator-android-studio.html?m=1


No comments:
Post a Comment